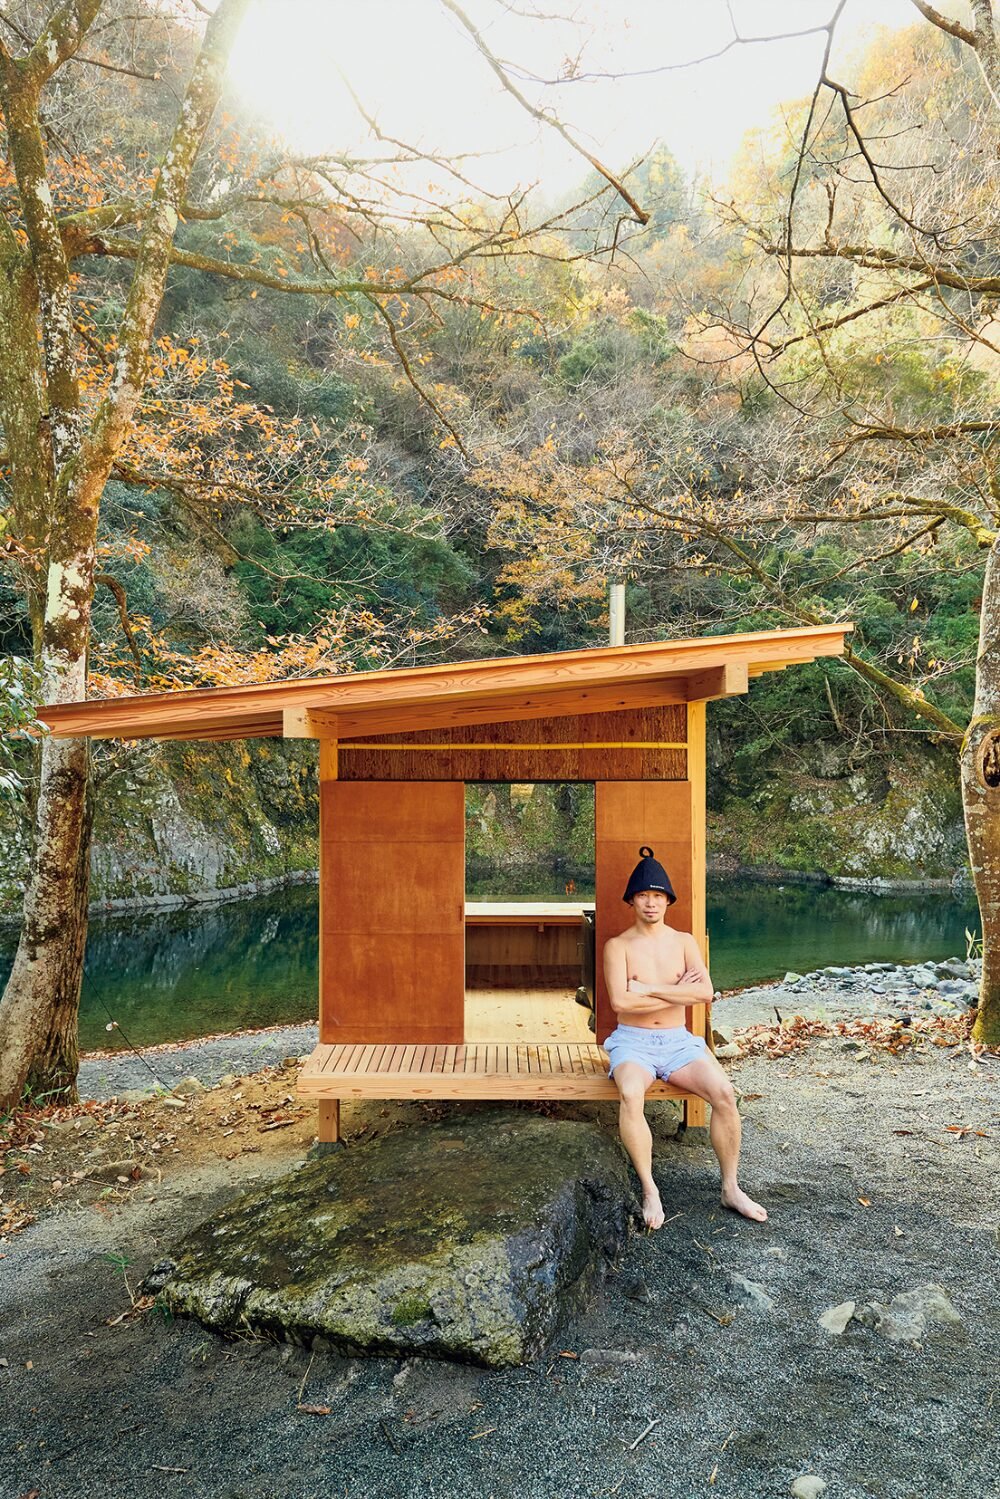
DIY Home Sauna: A Step-by-Step Guide to Building Your Own
Disclosure : This post may contain affiliate links or paid partnerships. I may earn compensation if you click a link or make a purchase, at no additional cost to you. See my disclosure for more info.
You’ve been putting this off long enough.
That warm, silent room. Heat soaking deep into muscle. The tension you carry all week slowly working itself out. You want that at home.
So you start looking into it. Within ten minutes you’re buried under competing forum threads, contradictory insulation advice, one person claiming a $300 build and another reporting $9,000. You close everything. File it under “someday.”
Here’s the problem: someday is where good projects go to die. Building a home sauna is genuinely achievable. The obstacle isn’t construction skill — it’s noise drowning out the actual steps. This guide cuts through it with a clear order of operations. Let’s get moving.
Why DIY Sauna Projects Never Make It Off the Ground
The physical labor isn’t the obstacle. The fear of a costly mistake is. You imagine buying the wrong materials, wiring something incorrectly, ending up with a room that grows mold instead of generating heat. That anxiety is understandable — but it comes from poor sequencing, not a skills deficit.
Most failed sauna builds stumble because people skip foundational decisions and jump straight to shopping. They’re choosing backrests before settling on a vapor barrier approach. Pricing a complete sauna essentials kit before deciding what type of heat they want. Work through decisions in the right order and everything downstream gets simpler.
1. Lock In Your Location Before Anything Else
Nothing moves forward until this is resolved. Every other decision flows from where your sauna will live. Strong candidates include: a basement corner or underused bathroom, a garage section with direct access, a standalone shed or outbuilding, or a large walk-in closet for a compact infrared single-person unit.
Hard requirements: floor drain access, reachable electrical panels, and a moisture-resistant floor surface. Concrete, tile, or rigid vinyl only. Carpet is off the table entirely. Factor in the cool-down moment too — a shower nearby or an exterior door transforms the post-sauna experience.
Ceiling height rule: 7 feet or under. Heat climbs. Every foot of unnecessary ceiling above you steals efficiency and weakens the session.
2. Traditional or Infrared — Decide Before You Spend a Dollar
This is the most consequential choice in the entire build. Make it before you buy a single piece of lumber.
Traditional Finnish sauna: A high-output electric heater warms a pile of sauna stones. You pour water over them for bursts of steam. Room temperatures sit between 150°F and 195°F. Intense, immersive, authentic.
Infrared sauna: Radiant panels warm your body directly rather than the surrounding air. Temperatures run lower, roughly 120°F to 150°F. Lower power draw, simpler installation. A quality two-person infrared sauna can operate on a standard 120V outlet. This decision shapes your materials list, electrical requirements, insulation strategy, and ventilation design. Everything ripples from here.
3. Get the Size Right — Bigger Rooms Make Worse Saunas
Oversizing is the most common and costly mistake in DIY sauna projects. People build rooms that are too large. The heater strains to keep up. Temperature climbs too slowly. Energy bills spike. The experience disappoints.
Reference sizes: One person: 3’ x 3’ infrared, 4’ x 4’ traditional — a compact 2-person traditional steam sauna works at this scale too. Two people: 4’ x 6’ gives comfortable room for both. Family use: 5’ x 7’ — roomy without being wasteful. A 4-person cedar indoor steam sauna hits this range perfectly. Match heater cubic footage to room volume exactly. Never guess.
4. Wood Species Matter More Than You Think
Your lumber choice determines comfort, durability, and safety. Western red cedar is the benchmark: moisture-resistant, dimensionally stable under thermal cycling, comfortable against bare skin. Other reliable choices: Hemlock — budget-friendly, clean appearance, low odor, available as light tongue-and-groove boards; Basswood — excellent for allergy-prone users; Nordic spruce — the Scandinavian standard.
Hard pass on: Pine (sap bleeds at sauna temperatures), oak (becomes dangerously hot to touch), and any pressure-treated lumber (releases toxic compounds when heated — a genuine health hazard). Install tongue-and-groove paneling, ¾” to 1” thick, horizontally. Round every bench edge before installation.
5. Framing and Insulation — The Work That Makes or Breaks It
Nobody photographs insulation. But skip it or cut corners and nothing else performs the way it should. Frame it: Standard 2×4 studs, 16 inches on center. Insulate properly: R-13 fiberglass batt in walls, R-22 minimum in the ceiling. The ceiling matters most — heat rises and escapes upward fastest.
Vapor barrier: The most skipped step in DIY sauna builds. Install an aluminum foil vapor barrier on the interior side of the insulation. It reflects radiant heat back into the room and stops moisture from penetrating the wall cavity. Not plastic sheeting, not housewrap — aluminum foil rated for high-heat use. Overlap all seams by at least 6 inches and tape every joint with foil tape. One gap becomes a moisture pathway that silently rots your framing from the inside.
6. Ventilation — Two Small Openings That Protect Everything
Without proper ventilation, your sauna is a sealed danger zone. The system is simple: a low intake vent near the heater (about 6 inches from the floor, on one wall) and a high exhaust vent near the ceiling on the opposite wall, with an adjustable damper. Cool air enters at floor level, absorbs heat, rises, and pushes stale air out through the top. Natural convection does the work.
Each vent opening is roughly 4” x 6”. Without this airflow, CO₂ builds up, headaches follow, and sessions become genuinely dangerous. Between uses, the wood never dries fully — which is how mold takes hold inside a sealed sauna structure. Ventilation is a health and structural necessity.
7. The Heater — One Decision That Changes Everything
Everything else in the room exists to support what this unit does. Choose it precisely. For traditional builds: An electric heater with integrated panel controls is the standard for indoor installations. Match kilowattage to the exact cubic footage of your room. These units require a dedicated 240V circuit, typically 30 to 60 amps. A model like the Harvia 6kW KIP is a useful reference for load planning discussions.
Hire a licensed electrician. Non-negotiable. Incorrect high-voltage wiring is a fire risk. For infrared builds: Most operate on standard 120V. A high-quality 2-person far infrared cedar sauna plugs in like any household appliance. For first-time builders, infrared is genuinely the easier option.
8. The Door — Two Rules You Cannot Break
Keep it solid. Make it swing outward. If someone loses consciousness inside, an inward-opening door can be blocked by their body. An outward-swinging door stays accessible from outside at all times.
Tempered glass panel doors allow light in and prevent the closed-in feeling of a compact space. A solid wood door with a small glass insert works equally well. Hardware rule: magnetic catch or spring latch only. Never install a lock. A sauna near 190°F with a locked door is a life-safety hazard.
9. Lighting — Why Your Existing Fixtures Are the Wrong Choice
Standard residential fixtures cannot handle sustained sauna temperatures and humidity. Use vapor-proof fixtures rated for heat exposure. Sauna-grade LED strip lighting also performs well and produces warm, understated ambient light. Mount all fixtures behind bench level or above the natural sight line — this is a room for recovery, not task work.
A compatible dimmer switch is a worthwhile upgrade. Adjustable light levels change the atmosphere meaningfully at minimal cost.
10. Accessories That Finish What Construction Started
Bench layout: L-shaped configurations make excellent use of corner space. Upper bench for high-heat seekers, lower bench for a gentler position or foot rest. A quality solid cedar bench is the soul of the room. Backrest: Angle-cut from your bench wood, or a ready-made wooden sauna backrest that clips in without any fabrication.
Steam ritual tools: A wooden bucket and ladle set for introducing water to the stones — the löyly that defines the Finnish tradition. Instruments: A wall-mounted thermometer and hygrometer at seated eye level; a sand timer to track sessions without a phone. Flooring: Hard surface underneath, with a removable slatted wood mat on top for comfort and drainage.
11. Curing — The Final Step Before You Sit Down
Don’t use your new sauna right away. It isn’t ready. Run the heater to around 140°F for one to two hours, opening the door briefly several times. This curing process drives out residual construction moisture and stabilizes the wood’s natural oils and resins. Do this two to three times before your first real session.
A strong aroma from cedar or your chosen wood species during curing is completely normal. It fades quickly. After curing, fire it up to your target temperature, pour water on the sauna stones if you went traditional, and sit back. You built this room. It belongs to you now.
You Have Everything You Need. Time to Start.
A home sauna isn’t just a home improvement project. It’s a standing commitment to your own recovery. It means your health, your decompression, your peace has a permanent home. Not a gym membership. Not a monthly spa booking. Yours. Every day.
A few weekends of focused effort? Yes. A snag or two along the way? Probably. Worth every minute once you’re sitting in a room you built yourself, every muscle relaxed and every distraction gone? Unquestionably. Put the measuring tape in your hand. Pick the spot. Start cutting.
🔍 Focus Keyphrase: home sauna DIY
📌 SEO Title: Home Sauna DIY: Build One Yourself — Complete Guide
🔗 Slug: home-sauna-diy-build-one-yourself
📝 Meta Description: Step-by-step guide to building a home sauna from scratch. Covers location, type, sizing, wood, insulation, ventilation, and more. Start your DIY build today.