27 Side Table Styling Tips That Will Transform Your Living Room Overnight
Disclosure : This post may contain affiliate links or paid partnerships. I may earn compensation if you click a link or make a purchase, at no additional cost to you. See my disclosure for more info.
That corner of your living room has been quietly bothering you.
Not loudly. Not dramatically. Just a low-level background feeling that something there isn’t quite right.
Nine times out of ten, it’s the side table.
Not because it’s broken. Not because it’s ugly. But because nobody has ever really thought about what should be on it — and that thoughtlessness shows.
Here’s what changes when you do think about it: everything. A space that felt assembled starts feeling intentional. Objects that seemed random start telling a story.
These 27 tips will show you exactly how to make that shift. No big budget. No design background. Just deliberate choices applied to one small surface.
Your room is ready for the transformation. Let’s go.
The Foundation: Clear Your Canvas First
1. Strip the surface bare before you touch a single decorative object.
This is not styling advice — it’s a prerequisite.
Before anything beautiful can happen, everything that doesn’t belong has to go. The water glass, the tangled cable, the book placed there three weeks ago. Strip it all. Wipe the surface clean.
A transformed surface can’t emerge from an untransformed one. Start at absolute zero.
2. Arrange your objects in groups of three.
This is the principle designers return to again and again — not out of habit, but because it consistently works.
Three objects of varied heights, grouped together. A lamp, a plant, something decorative. Your eye triangulates between them and finds the result satisfying without knowing why.
Go past five objects and the arrangement starts competing with itself. Three holds the room.
3. Create a visual skyline with varied heights.
Everything at the same height looks flat. Uninspired. Like furniture, not design.
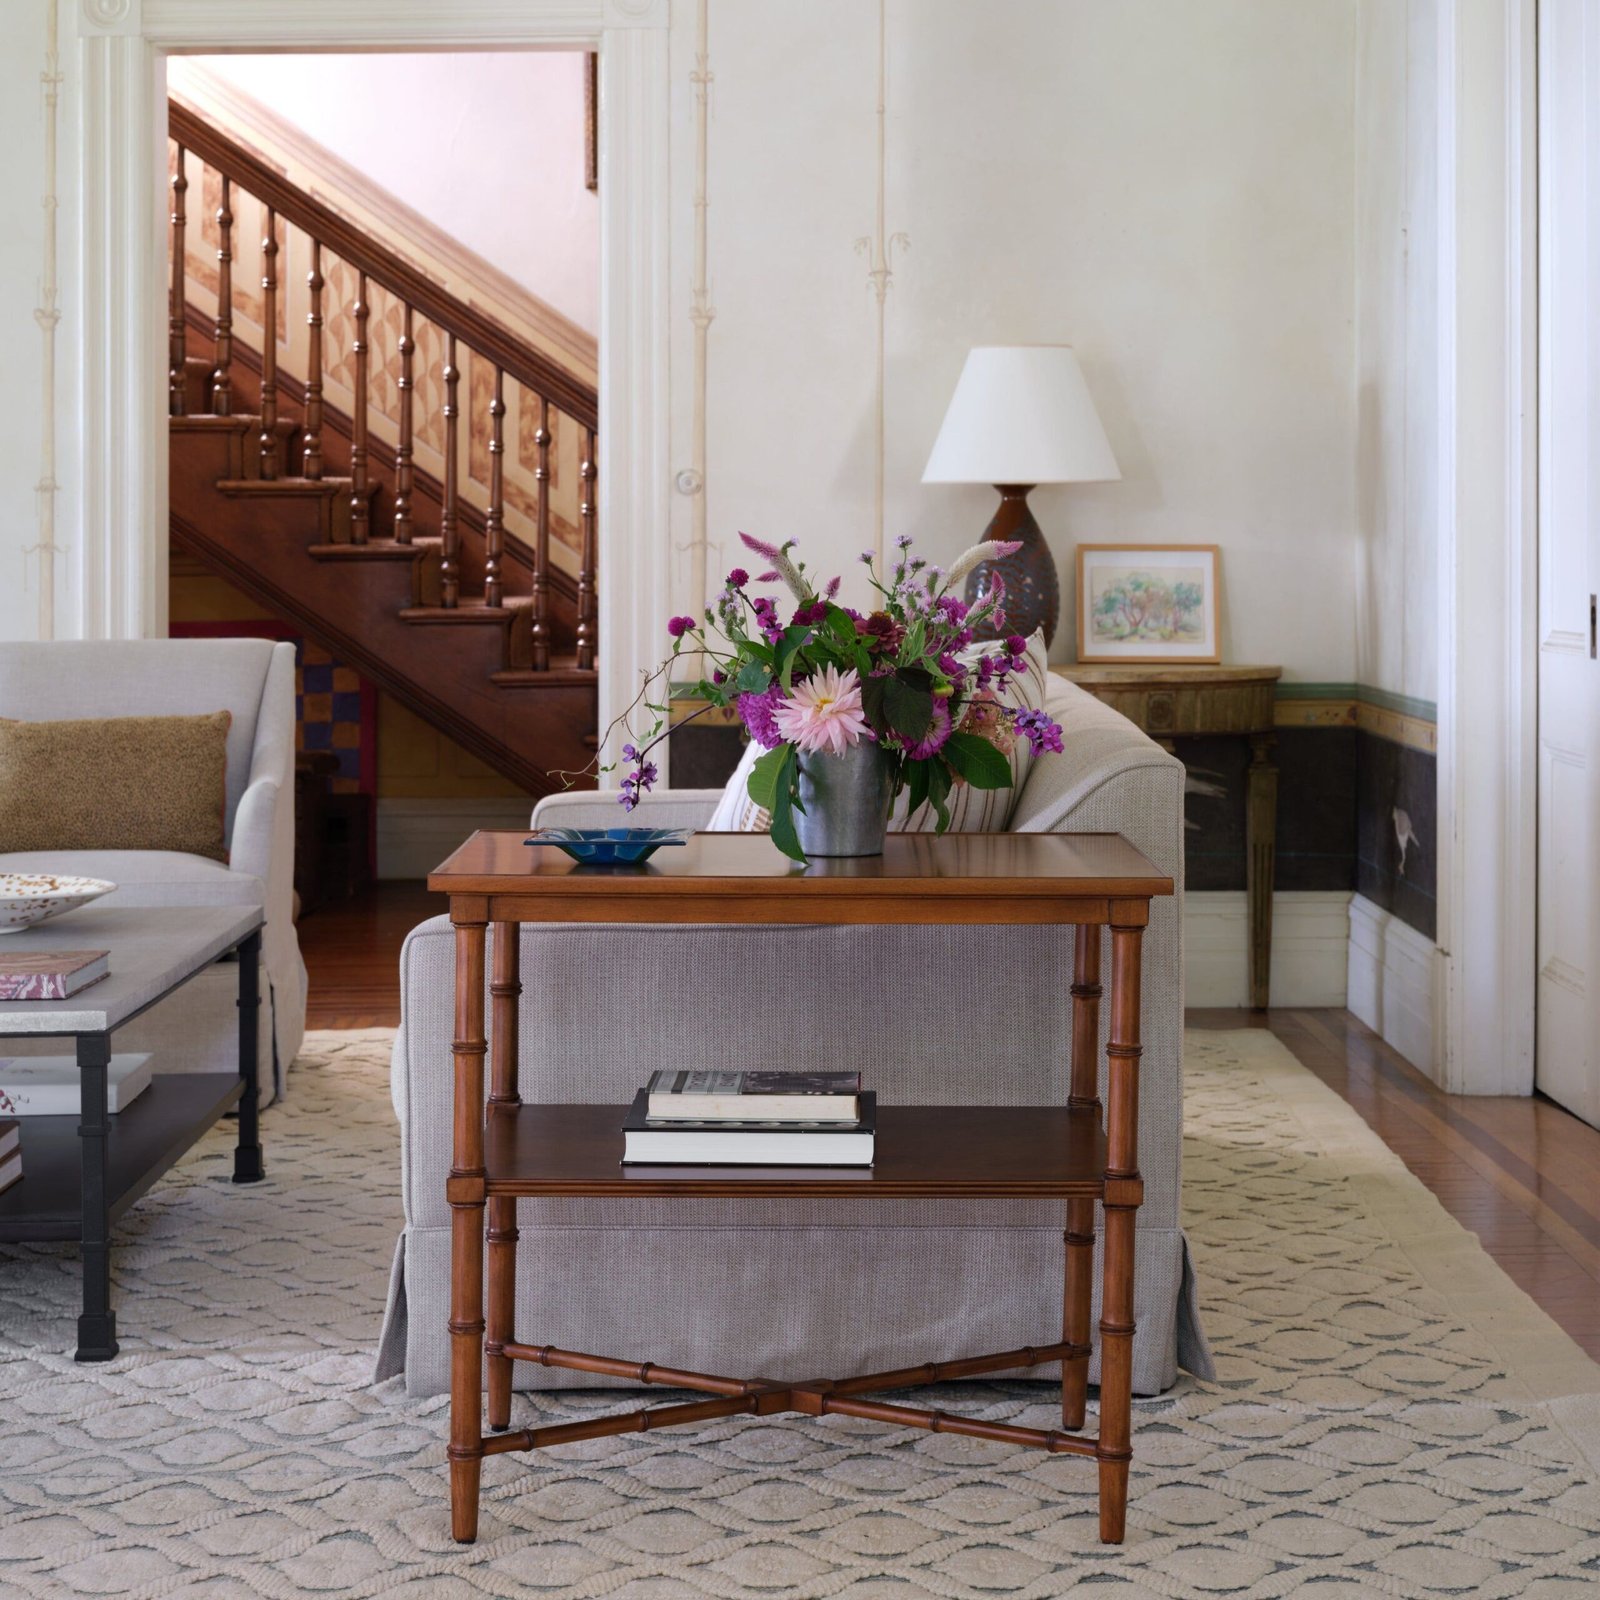
Introduce a tall element, a medium one, and something low. A stack of books topped with a small sculpture creates instant height and visual movement without buying a single new thing.
Think of it as your table’s own miniature skyline.
4. Choose one statement piece to anchor everything else.
Every transformed side table has a hero — one object that draws the eye first and earns its position of prominence.
A sculptural vase. A bold lamp. A striking clock. Choose yours and build the rest of the arrangement around it in a supporting role.
When every object fights for top billing, the whole arrangement loses impact. Lead with intention.
Lighting That Sets the Mood
5. Replace harsh overhead lighting with a warm table lamp.
Overhead lighting illuminates. It does not transform.
A warm-toned table lamp on your side table does something entirely different — it creates depth, shadow, and atmosphere. The whole room shifts registers. Suddenly it feels less like a space you occupy and more like a space you inhabit.
This single change may do more for your living room than anything else on this list.
6. Consider a cordless LED lamp for a completely clean surface.
Cords are the enemy of a beautifully styled surface. There’s no workaround for a cable that snakes across the table — it just ruins the composition.
A cordless LED lamp solves the problem entirely. Placed wherever it looks best, no outlet required, no cable to hide.
7. Layer a candle beside your lamp for doubled warmth.
One light source serves a purpose. Two create an environment.
A candle flickering quietly beside a lamp produces the kind of layered, living warmth that electric light can’t replicate on its own. It adds gentle movement to the arrangement. It adds life.
Mastering the Stack and Layer
8. Use stacked books as a riser for smaller objects.
Coffee table books are not just for coffee tables.
Stack two or three on your side table and rest a small decorative object on top — a candle, a tiny sculpture, a smooth stone you found somewhere. The books lift the object visually and add their own contribution through color and form.
Instant sophistication, zero cost if the books already live in your home.
9. Pick books whose spines complement your room’s color palette.
Every visible surface is a color decision. Book spines are no exception.
Choose volumes that complement the tones already in your room. Or turn them spine-inward for a clean, neutral presentation that never clashes with anything else on the surface.
It’s a small detail with a surprisingly large visual effect.
10. Anchor your display inside a small tray.
A tray is a transformation tool hiding in plain sight.
Without one, a candle and a plant and a small dish are just three objects on a table. Inside a tray, they become a curated arrangement. The tray creates a visual boundary that says: this was chosen, not accumulated.
Round tray on a square table or square on a round — the contrast sharpens both.
Inviting Nature Inside
11. Add at least one living element to the arrangement.
A small potted plant. A single stem in a bud vase. A small succulent that barely needs you.
Life on a surface changes everything about it. Organic form, natural color, the subtle quality of something that breathes — no manufactured object can replicate what a living plant brings to a space.
A pothos cutting in a glass of water achieves this beautifully and costs almost nothing.
12. Use dried botanicals if you want the texture without the upkeep.
Not everyone has the time or inclination to keep plants alive. That’s completely fine.
Dried eucalyptus or a stem or two of pampas grass give you the organic warmth and texture of real botanicals without a care schedule. They hold their character for months. Just avoid anything that looks dusty or synthetic.
13. Try a branch or piece of driftwood for organic gallery texture.
This is the element that surprises people most — until they try it.
A weathered piece of driftwood or a sculptural branch brings raw, natural authority to a side table. It says: someone here has an eye. It invites the question: where did that come from?
The Power of Mixed Materials
14. Pair at least two contrasting materials together.
An all-ceramic arrangement is flat. All-wood is predictable. All-glass is cold.
Mix a ceramic vase with a brass candle holder. Set a glass piece next to a woven basket. The visual tension between different materials is where richness actually comes from — that interplay of smooth against rough, warm against cool.
15. Introduce a textile or woven element for softness.
Hard surfaces need soft counterpoints to feel complete.
A woven coaster tucked under a vase. A folded linen cloth as a quiet base layer. A macramé plant hanger draped along the table’s edge. These textile touches add warmth that nothing else in the arrangement can provide.
16. Add one metallic accent to catch and reflect light.
One metallic element — gold, brass, copper, brushed nickel — lifts an entire arrangement with a quiet gleam.
A brass picture frame. A brass-edged dish. A copper accent of any kind. One is elegant. More than one starts competing with itself.
Choose one and let it do its job.
Objects With a Story to Tell
17. Feature one object of genuine personal significance.
The difference between a decorated table and a styled one often comes down to this single decision.
A stone from a trip that meant something. An heirloom piece. A small ceramic bought at a market in a city you loved. That one object is what makes a guest stop, lean in, and say: “What’s that?”
Everything else can be purchased. That piece cannot.
18. Lean a framed photo or print against the wall — no hanging required.
You don’t need a hammer, a level, or a commitment to gallery-quality art.
A 4×6 or 5×7 framed print rested informally against the wall behind your side table adds layered depth and a casual gallery feel that mounted art rarely achieves. Swap it seasonally. Swap it on a whim. It costs nothing to change.
19. Keep a beautiful small dish for everyday items that inevitably land there.
Accept reality: things will always end up on your side table. Keys, rings, reading glasses, earbuds.
A refined small dish — marble, hammered brass, hand-thrown ceramic — gives those everyday items a designated home that’s also beautiful. What would otherwise be clutter becomes part of the arrangement.
Getting the Scale Right
20. Resist filling every inch of the surface.
The instinct is to keep adding until the table feels full. That instinct leads directly to clutter.
Negative space is not emptiness — it’s breathing room. Leave at least a third of the surface open. That open area makes every object on the table read with more presence and intention.
A crowded table looks anxious. A composed table looks confident.
21. Scale your objects to the actual size of the table.
A towering arrangement on a small side table creates visual unease. A tiny grouping lost on a wide surface reads as neglected.
Look at your table, then look at your objects. Do they feel proportional? Petite tables need delicate pieces. Larger surfaces can carry something with more visual weight.
22. Keep the tallest object within 1.5 times the lamp shade height.
This simple guideline prevents arrangements from feeling top-heavy or structurally precarious.
It’s subtle — but follow it once and the result will show you immediately why professional stylists never break it.
The Details That Make All the Difference
23. Add a scented element to engage more than just sight.
The most considered living rooms work on multiple sensory levels simultaneously.
A softly glowing scented candle or a quietly diffusing reed diffuser adds an invisible but powerfully felt dimension to your arrangement. Guests settle into your sofa and feel at ease before they understand why. That’s design working at its most complete.
24. Swap out one item with each changing season.
You don’t need to restyle the whole table four times a year. One swap is enough.
A small pine sprig in winter. A fresh bloom in spring. A shell in summer. A warm amber candle in fall. These small rotations keep the arrangement feeling current and alive with almost no effort.
25. Elevate one key piece on a coaster or small pedestal.
Raising an object — even by a single inch — signals that it holds a position of importance within the arrangement.
A marble coaster beneath a candle. A small wooden block under a vase. The elevated object reads as the most considered piece on the surface. A designer detail that costs almost nothing.
26. Edit the arrangement ruthlessly once a month.
Styling is not a one-time event. It’s an ongoing practice.
Once a month, look at your table with genuinely fresh eyes. What’s grown tired? What deserves a new moment? The best arrangements evolve — they’re never frozen in time.
27. Always assess the final composition from across the room.
You styled it from eight inches away. Your guests experience it from ten feet.
Walk to the far wall. Sit in the facing chair. Look from the doorway. Does it hold together at that distance? Does it contribute to the room’s larger composition?
That is the real measure of a transformed side table.
Your Move
Here is what typically happens after reading something like this.
You feel genuinely inspired, you set the phone down, and by tomorrow the side table looks exactly the same.
Break that pattern.
Choose three tips from this list and apply them tonight. You likely already own most of what you need — a lamp, a stack of books, a candle, a plant cutting.
The gap between a living room that looks thrown together and one that looks effortlessly intentional isn’t a budget or a professional designer. It’s the quality of attention you give to small decisions on small surfaces.
Your side table has been ready for this. Now it’s your turn.
And when someone next walks into your living room and says, “This place looks amazing” — you’ll know exactly which 27 choices made them feel that way.